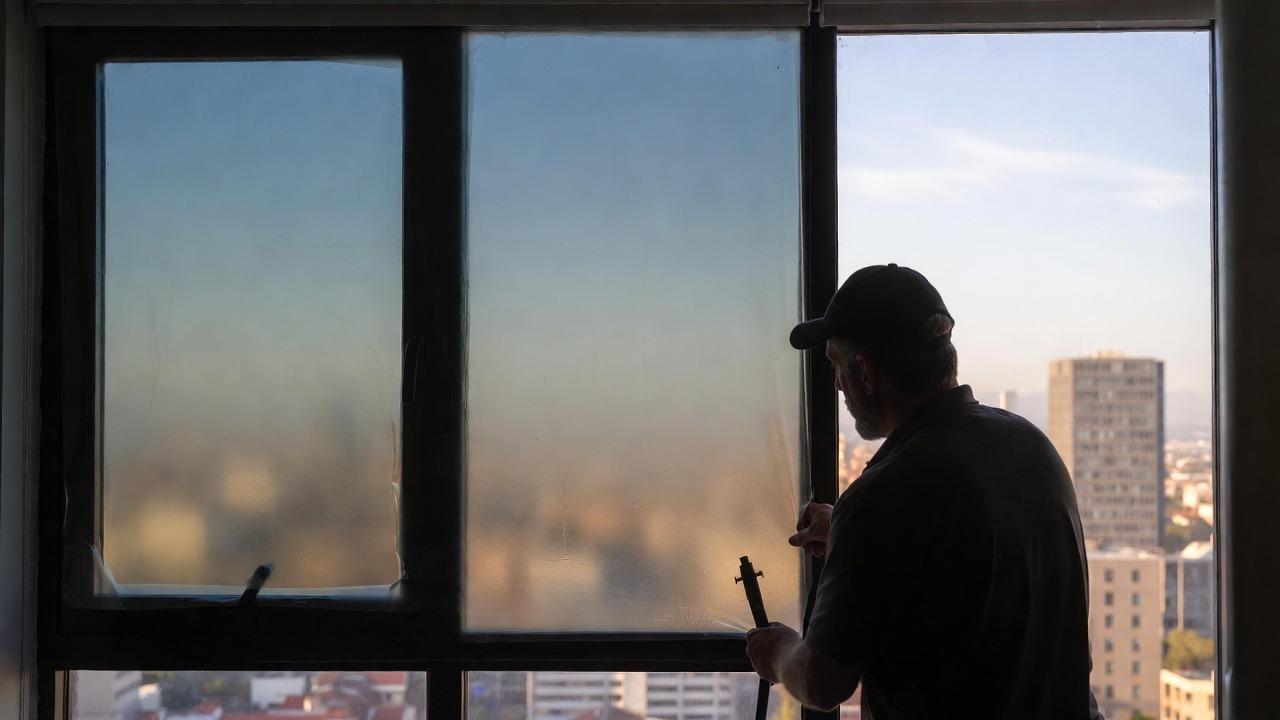
Window films can help with glare, privacy, UV protection, and indoor comfort. But when window films are installed the wrong way, the job can fail fast. You may see bubbles, peeling edges, cloudy spots, or poor heat control. In Toronto and the GTA, that happens more often than many people think, mostly because the glass, the weather, and the film type all need to work together. This guide breaks down the most common mistakes with window films, what causes them, and how to avoid them before you waste time or money.
A lot of bad installs start the same way. Someone watches a quick video, buys a cheap roll, sprays the glass, and hopes for the best. Then a week later the film looks rough. In condos near Liberty Village or CityPlace, the west sun beats on the glass for hours. In older homes in East York, Scarborough, or Etobicoke, dirt hides in the frame corners and makes the finish bumpy. Local stuff like that changes the result. If you want to learn the basics of window films or get better at window film installation, this post will help you skip the mistakes that ruin the job.
1. Cleaning the Glass Too Fast
This is the mistake that causes the most trouble.
A pane can look clean and still have dust, lint, grease, pet hair, or dried cleaner on it. Once the film goes over that mess, the dirt gets trapped under the surface. Then you get small bumps, bubbles, or a grainy finish.
This is a big issue in Toronto homes with older trim and older window frames. Dirt sits in the corners for years. In storefronts on busy roads, more grime builds up from traffic. In lakefront condos, salt in the air can leave a film on the glass.
A better prep routine usually includes:
- Scraping off stuck debris where needed
- Wiping with a lint-free cloth
- Cleaning the edges and bottom corners well
- Checking the pane in side light before applying the film
One homeowner near The Danforth did a bathroom window on their own. The centre looked okay. The lower edge did not. Tiny bits of trim dust got under the film and made the whole thing look speckled. They had to pull it off and start again. Thats pretty common, sadly.
2. Buying the Wrong Type of Window Films
Not all window films do the same job.
Some window films are made for solar control. Some are for privacy. Some are decorative. Some are safety or security films. A lot of DIY installs go wrong because the buyer picks a film by colour or price, not by glass type or room needs.
That can lead to:
- Weak heat rejection
- Poor privacy at the wrong time of day
- Faded film
- Stress on certain glass units
- A result that just does not match the goal
This matters in the GTA. A south-facing office in Mississauga may need glare and heat control. A front sidelight in Markham may need privacy. A street-facing shop in Vaughan may need security film. Same product family, very diffirent uses.
A small clinic near North York Centre once picked a dark film online because it looked “professional.” The rooms still felt warm, and the look was darker than they wanted. They really needed a different solar film, not just a darker shade.
3. Ignoring Double-Pane or Specialty Glass
This is where some installs become expensive.
Many homes and condos in Toronto use double-pane windows. Some also have low-E coatings or other specialty glass features. Not every film is right for every pane. When the wrong film goes on the wrong glass, it can increase heat stress.
That does not mean window films are bad. It means the film has to match the glass.
Common risky moves include:
- Choosing a very dark film without checking the pane
- Assuming all residential windows react the same way
- Copying a product choice from another building with diffirent glass
If you are not sure, it helps to read about window film on double-pane windows before buying. That one detail can save a lot of regret.
A condo owner near Harbourfront installed a bargain film on a large sunny pane. The goal was to cut afternoon heat. The film stuck, but the glass setup was not checked first. The owner later had to remove it and start over with a better-matched product. It cost more than doing it right the first time.
4. Installing When the Room Conditions Are Bad
Indoor work still depends on conditions.
If the room is too hot, the solution can dry too fast. If the glass is cold, curing can take much longer. If the room is dusty from sanding, painting, or renos, dirt gets under the film. If direct sun is blasting the pane during install, the job gets harder real quick.
In Toronto summers, west-facing condo glass gets very hot by late afternoon. In winter, older houses in Brampton or Scarborough can have cold glass and dry indoor air. Those local conditions matter.
Better install conditions usually mean:
- A moderate room temperature
- No active dust in the room
- No direct sun hitting the exact pane during the install
- Enough time to let the film settle and cure
This sounds basic, but many failed installs start on a “good enough” day that was not really good enough.
5. Using Too Little Slip Solution
Slip solution helps the film move before it locks into place.
When there is not enough of it, the film grabs too early. Then it becomes hard to align, hard to smooth out, and easy to crease. That is one reason many first-time installs feel stressful from the start.
Problems caused by too little solution include:
- Crooked placement
- Stretch marks
- Finger dents
- Trapped air
- Drag marks from the tool
The glass should be wet enough that the film can slide into position. The outer surface should also stay wet enough for the squeegee to glide across the face. A lot of pepole go too light here because they are scared of using too much liquid. But too little is usually the bigger problem.
6. Squeegeeing Like You Are Wiping, Not Extracting
This is another common fail point.
The goal is not just to push around water. The goal is to remove water and air in a controlled pattern. When the squeegee work is uneven, moisture stays under the film. Then you may get haze, trapped pockets, or edge lift later on.
Better squeegee work usually includes:
- Starting near the centre
- Using steady, overlapping passes
- Pushing toward the edges
- Using more focus at corners and borders
- Keeping the pressure even
A small retail shop near Yonge and Eglinton had film installed on a front panel. The middle looked clean, but the lower edge stayed too wet because the last passes were rushed. A few days later the corner started to lift and collect dust. The shop owner thought the film was bad. It was more a water-removal issue than a product issue.
Good tools help too. Cheap plastic tools can drag or flex too much. That makes a neat finish harder.
7. Cutting the Film with Poor Blade Control
Cutting right on the glass is normal in many installs, but it has to be done with care. A loose hand can scratch the glass, nick the gasket, or leave a wavy edge. That edge line matters more than people expect because it is one of the first things the eye notices.
This gets trickier on:
- Narrow sidelights
- Front doors
- Large storefront panes
- Older windows with visible sight lines
A messy trim can make a whole install look cheap. Too tight, and the film may bunch or lift. Too loose, and the gap looks sloppy. In neighbourhoods like Leaside and High Park, we often see DIY jobs where the cut line drifts near the frame. The pane still functions, but it does not look clean.
8. Forgetting That Most Failures Begin at the Edges
The middle of the pane is not where most problems start. The edges are.
When dirt is left near the border, when water is not removed well, or when the trim is poor, the edges start to lift. Once the edge opens, more dirt gets in. Then the film starts looking worse week by week.
Edge problems show up a lot on:
- Condo panes with daily sun swings
- Front doors that get opened all day
- Commercial glass near vents
- South-facing rooms with long summer sun exposure
This is why pros spend extra time near the borders. A pane can look decent in the middle and still be set up for failure at the sides.
9. Touching, Rubbing, or Cleaning the Film Too Soon
Fresh window films need time to cure. During that time, a little haze or a few tiny water pockets can be normal. Many people see that and think the install went bad. Then they start pressing the film with fingers or cleaning it too early.
That can leave marks, weaken the bond, or scratch the surface.
In warmer months, curing is faster. In colder Toronto months, it can take longer. That does not always mean the film is failing. It often just means the moisture is still drying out.
For after-care, it helps to follow simple guidance from trusted groups like the International Window Film Association. Their inspection info helps explain what is normal after install and what is not.
10. Going Cheap on Film Quality to Save Money
Cheap window films can cost more later.
Low-grade film may fade faster, peel sooner, or offer weaker UV and heat performance. That matters in the GTA, where sun, cold, and daily temp swings can be hard on materials. A family in Richmond Hill may want to protect flooring and furniture. A café in Downtown Toronto may want better comfort for customers near the front glass. If the film quality is poor, the result may not hold up.
Better window films can help with:
- Glare reduction
- UV protection
- Comfort near sunny windows
- Lower cooling strain in warm months
There is useful public info from Natural Resources Canada about home energy performance, and it helps show why glass and solar gain matter so much in Canadian buildings.
When DIY Makes Sense and When It Does Not
Small flat panes can be okay for careful DIY work. But there is a point where the job gets too large, too visible, or too technical.
It often makes sense to call a pro when:
- The pane is large
- The glass type is not clear
- The room gets strong afternoon sun
- The job is on a front door or storefront
- The film is thicker safety or security film
- The finish needs to look very clean
That is true for homes and for businesses. A rough install on a back laundry room window is one thing. A rough install on the front glass of a retail space is another. Customers notice stuff like that right away.
Window films do a lot of good when they are chosen well and installed well. But the small details matter more than most people expect. Clean prep, the right product, good room conditions, careful squeegee work, and patience during curing all change the final result. Skip those steps, and even good window films can look bad pretty fast.
Leave a Reply