Window tinting offers a multitude of benefits, from enhancing the visual appeal of your home to improving its energy efficiency. However, achieving these benefits hinges on the precision of your window measurements. Accurate dimensions ensure a snug fit, optimal performance, and minimized waste. This comprehensive step-by-step guide will take you through the process of measuring your windows for tinting, guaranteeing the best results possible.

Why Measure for Window Tinting?
Understanding the importance of accurate measurements can significantly impact the outcome of your window tinting project. Let’s delve deeper into why precise measurements are crucial and how they can make a difference.
The Role of Precision in Tinting
Accurate measurements play a pivotal role in the success of window tinting. A well-measured window ensures that the film fits perfectly, avoiding unsightly gaps or overlaps that can detract from the film’s appearance and effectiveness. Precision in measuring also means the film covers the entire surface area, maximizing its capabilities in blocking out heat and UV rays, which can lead to significant energy savings.
Cost Efficiency and Waste Reduction
By taking accurate measurements, you can purchase the exact amount of film required, reducing unnecessary expenditure. This precision in purchasing means less material waste, which is not only cost-effective but also environmentally friendly. Precise measurements ensure you don’t over-order or run short, both of which can disrupt your project and increase costs.
Enhancing Your Living Space
Accurate window tinting enhances the overall aesthetic of your home, providing a sleek and uniform appearance. Additionally, with the right measurements, you ensure that the film performs optimally in providing privacy and comfort, reducing glare and maintaining a consistent indoor temperature. This can transform your living environment into a more pleasant and inviting space.
Tools Needed for Measuring
Before embarking on your window measurement journey, it’s essential to equip yourself with the right tools. Having the appropriate tools ensures that your measurements are not only accurate but also easy to obtain.
Essential Measuring Tools
- Measuring Tape: A retractable steel tape measure is ideal for precision. Its rigidity helps maintain straight lines and provides accurate readings.
- Pen and Paper: Keep a notepad handy to jot down measurements as you go along. Recording your measurements immediately reduces the risk of forgetting or mixing them up.
- Step Ladder: For those hard-to-reach windows, a step ladder is invaluable. It ensures safety and allows you to measure even the tallest of windows accurately.
- Calculator: If you need to convert units or add up measurements, a calculator will come in handy. It can also help in calculating the amount of film needed based on your measurements.
Additional Tools for Enhanced Precision
- Spirit Level: Ensures your measurements are straight and level, especially useful for larger windows.
- Measuring Grid Paper: Helps visualize your window dimensions and plan out the film placement.
- Digital Measuring Device: For those seeking high precision, a digital measuring device can offer exact readings and eliminate human error.

Step-by-Step Measurement Guide
Achieving accurate measurements involves a systematic approach. Follow these steps to ensure your windows are measured precisely, setting the foundation for successful tinting.
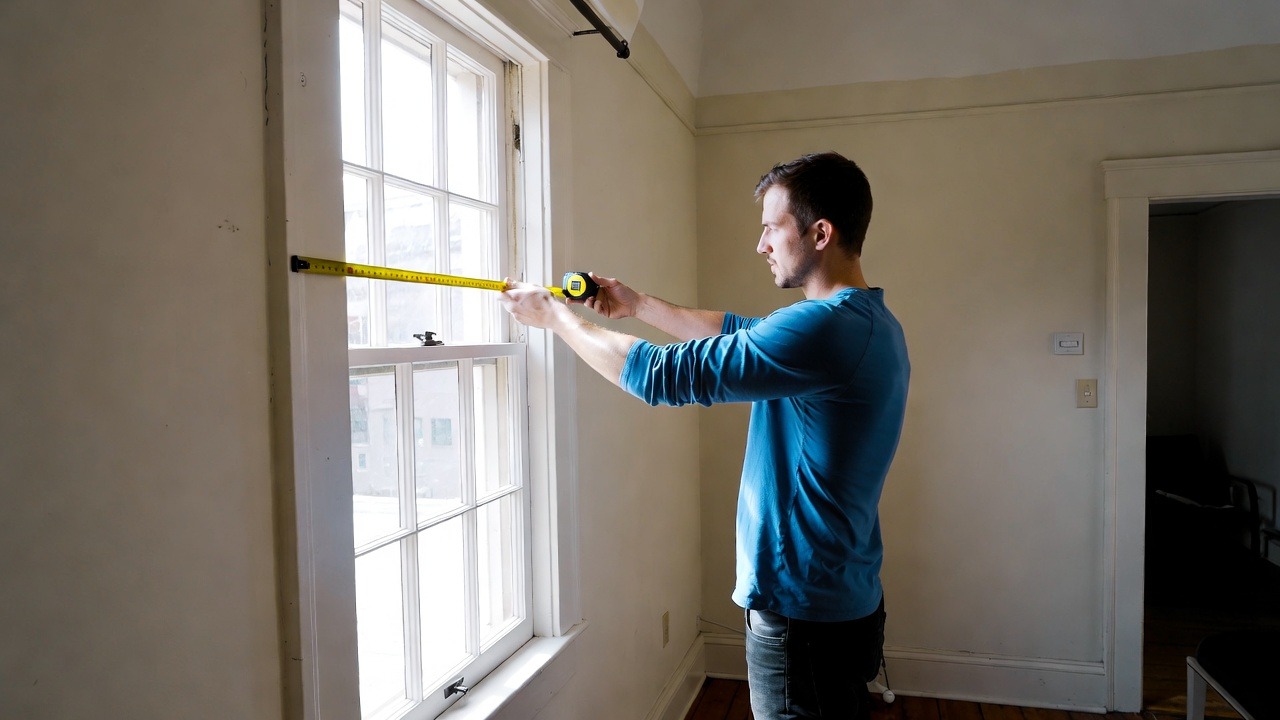
Step 1: Measure the Width
- Begin by measuring the width of the window. Measure at the top, middle, and bottom to account for any variations. This triple-check ensures you capture any irregularities in the frame.
- Record the smallest measurement to ensure the film fits within the window frame without overhang. This approach avoids potential issues with film application and appearance.
Step 2: Measure the Height
- Next, measure the height of the window. Take measurements on the left, center, and right sides. This ensures you accommodate any variations in height across the window.
- Again, use the smallest measurement for ordering your window film to avoid excess material. This method guarantees the film fits snugly, enhancing its aesthetic and functional benefits.
Step 3: Consider the Frame
When measuring, take into account whether the film will be applied to the glass only or will extend onto the frame. This decision impacts your measurements and the amount of film needed. Understanding the frame’s dimensions ensures you order the correct amount of film and achieve a seamless look.
Step 4: Double-Check Measurements
- Double-check all measurements to confirm accuracy. This step is crucial to avoid costly mistakes during the ordering and installation phases.
- Ensure all recorded figures are consistent and make sense before proceeding to purchase your film. Consistency in your recorded data prevents errors and ensures a smooth tinting process.
Tips for Measuring Unusual Window Shapes
Unique window shapes, such as arches or circles, present their own set of challenges. However, with the right approach, you can measure these windows accurately and achieve a perfect tint.
Arched Windows
- Measure the widest part of the arch as your width. This ensures the film will cover the entire span of the window.
- For the height, measure from the base to the highest point of the arch. This captures the full extent of the window, ensuring complete coverage.
- Consider using a template or professional help for complex shapes. Templates can guide your measurements and ensure precision, particularly for intricate designs.
Circular Windows
- Measure the diameter at the widest point. This is your key measurement for ensuring the film fits the circular shape.
- It’s often best to order a slightly larger piece of film to allow for adjustments during installation. This extra material gives you flexibility in application and ensures a perfect fit.
Irregular or Custom Shapes
- For windows with unique or custom shapes, consider creating a paper or cardboard template. This can serve as a guide for both measuring and cutting the film.
- Consult a professional if you’re unsure about tackling complex shapes, as their expertise can prevent costly mistakes.

by Bernard Hermant (https://unsplash.com/@bernardhermant)
Ordering Your Window Film
With your measurements in hand, you’re ready to order your window film. This stage requires careful consideration to ensure you select the right film for your needs and achieve optimal results.
Selecting the Right Film
- Film Type: Choose a film that suits your needs—whether it’s for privacy, UV protection, or decorative purposes. Each type offers different benefits, so consider your primary goals when selecting.
- Quantity: Order slightly more film than your measurements suggest to account for any errors or adjustments. This buffer ensures you have enough material for a perfect fit without worrying about shortages.
- Professional Advice: Don’t hesitate to consult with a professional if you’re unsure about your measurements or film choice. Their expertise can guide you in selecting the right product and avoiding common pitfalls.
Preparing for Installation
Before applying the film, it’s crucial to prepare your windows properly. A clean, smooth surface ensures the film adheres well and delivers a flawless finish.
Cleaning Tips
- Use a mild, non-abrasive cleaner and a lint-free cloth. This combination effectively removes dirt and dust without damaging the window surface.
- Avoid using ammonia-based products, as they can damage the film. Instead, opt for gentle cleaners that preserve the film’s integrity and appearance.
Surface Preparation
- Inspect the window for any cracks or damage that could affect the film’s application. Repair any issues before proceeding to ensure the best results.
- Ensure the window is completely dry before applying the film. Moisture can hinder adhesion and lead to bubbles or peeling.
DIY vs. Professional Installation
While measuring and installing window film can be a DIY project, there are distinct advantages to hiring a professional. Consider the following factors when deciding on the best approach for your project.
Expertise and Precision
- Expertise: Professionals have the experience to handle complex installations and ensure a perfect fit. Their knowledge can prevent mistakes and enhance the quality of the final product.
- Quality Assurance: Professional installers often provide warranties for their work, offering peace of mind. This assurance means you can trust in the durability and performance of your window film.
Time and Effort
- DIY projects can be time-consuming and require significant effort. Consider the time investment and whether it fits within your schedule.
- Professionals can complete the job quickly and efficiently, saving you time and reducing stress.
Cost Considerations
- While DIY can be cost-effective, mistakes can lead to additional expenses. Weigh the potential for error against the cost of professional services.
- Professional installation may have a higher upfront cost but can result in long-term savings through enhanced durability and performance.
Final Thoughts
Accurate window measurements are the foundation of a successful tinting project. By following this guide, you can ensure your window film fits perfectly, enhancing your home’s aesthetics and energy efficiency. Whether you choose to install the film yourself or hire a professional, precise measurements are key to achieving the best results.
By taking the time to measure carefully and consider your needs, you’ll be well on your way to enjoying the many benefits of window tinting. From improved aesthetics to enhanced comfort and energy savings, window tinting can transform your living space into a more pleasant and efficient environment.
Leave a Reply