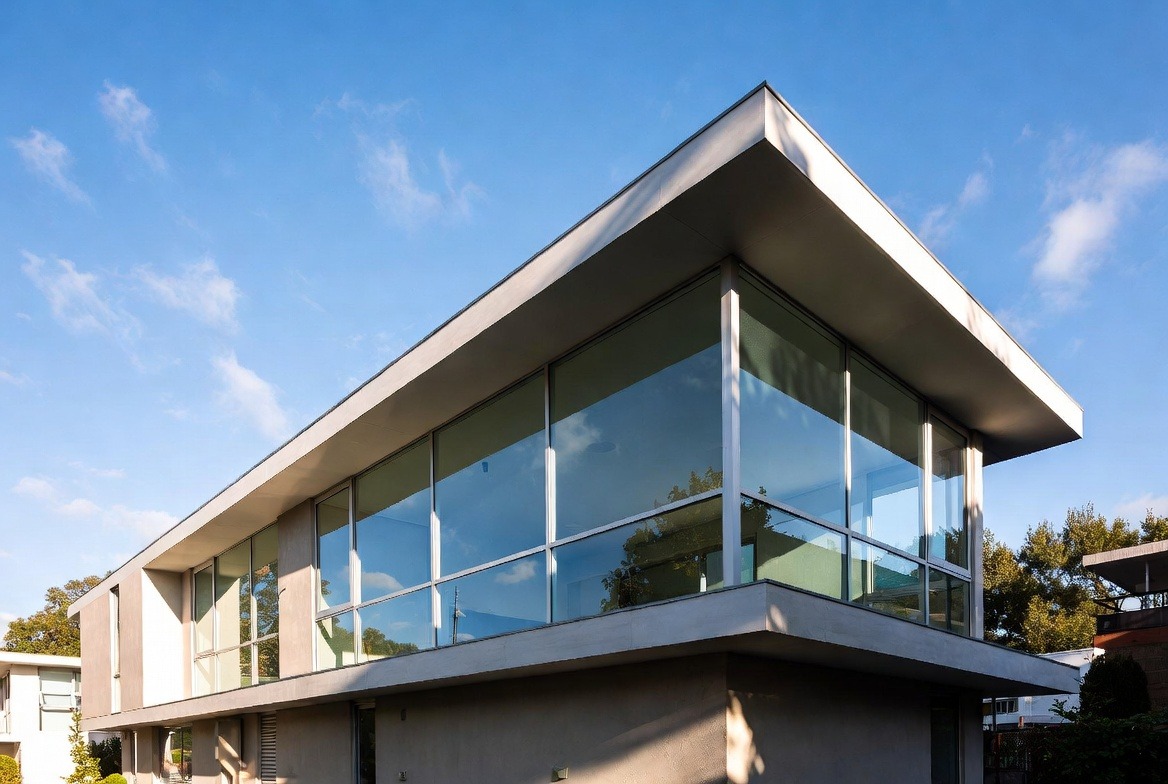

Before diving into the installation strategies, it’s essential to understand what UV blocking window film is and how it works. These films are thin layers of polyester-based materials treated with special coatings to block UV rays. They can be applied to the interior side of windows and are designed to minimize heat gain, reduce glare, and protect your interior furnishings from fading.
The film works by reflecting and absorbing solar energy. Its special coatings are engineered to reject infrared light, which is responsible for heat build-up, and ultraviolet light, which causes fading. By intercepting these rays, the film not only keeps your home cooler but also extends the life of your interiors. This smart technology is a result of years of research and development, making it a reliable solution for modern energy efficiency challenges.
Benefits of UV Blocking Window Film
UV blocking window film offers several advantages:
- Energy Efficiency: By reducing heat gain, these films can significantly lower your cooling costs, making your home more energy-efficient. This efficiency translates into tangible savings on your energy bills, a benefit that accumulates over time, offering a return on your investment while contributing to a more sustainable lifestyle.
- Protection from UV Rays: They block up to 99% of harmful UV rays, protecting your skin and preventing fading of your furniture, flooring, and artwork. The protection of interiors is crucial, especially for items that are susceptible to damage from prolonged exposure to sunlight, such as leather and wood, which can dry out and crack over time.
- Glare Reduction: The films reduce glare, providing a more comfortable environment for watching TV or working on a computer. This benefit is particularly valuable in rooms with large windows or those that face direct sunlight for extended periods during the day, improving both comfort and productivity.
- Enhanced Privacy: Some films offer increased privacy by limiting the view into your home from outside. This is especially beneficial for ground-level rooms or urban settings where homes are closely situated. The added privacy allows homeowners to enjoy natural light without compromising on personal privacy, making it a versatile choice for various living spaces.
Preparation for Installation

Proper preparation is crucial for a successful installation. Here are some steps you should follow before applying UV blocking window film:
Clean the Windows
Begin by thoroughly cleaning your windows. Any dirt, dust, or smudges can interfere with the adhesive and affect the film’s performance. Use a non-abrasive cleaner and a lint-free cloth to ensure the windows are spotless. Pay special attention to the corners and edges where dirt tends to accumulate, as even small particles can cause bubbles or uneven adhesion.
A clean surface is essential not only for adhesion but also for the longevity of the film. Residual dirt can create micro-abrasions that may weaken the film over time. By investing time in this step, you ensure that the film adheres smoothly and lasts longer, providing optimal performance for years.
Measure and Cut the Film
Accurate measurements are vital. Measure each window pane precisely and cut the film slightly larger than the window to allow for adjustments. You can trim the excess film after installation. Consider using a straight edge or ruler to ensure clean cuts, and double-check your measurements to avoid wastage.
This step is crucial because even a slight miscalculation can lead to significant errors during installation. Keeping a small allowance for adjustments can save you from the hassle of re-cutting the film, which can be both time-consuming and wasteful. Proper measurement ensures that the film fits seamlessly and performs optimally.
Gather the Necessary Tools
Having the right tools on hand will make the installation process smoother. You will need:
- A utility knife
- A squeegee
- A spray bottle with a soapy water solution
- A lint-free cloth
- A tape measure
Additionally, consider having a stepladder if you’re working on higher windows, and a friend or family member to assist with larger panes. Having everything ready ensures a smooth workflow and minimizes interruptions, allowing you to focus on the quality of the installation.
Step-by-Step Installation Guide

by Maryam F. (https://unsplash.com/@encoreunemaryam)
Once you’ve prepared your windows and gathered your tools, follow these steps for a smooth installation:
Step 1: Wet the Window
Spray the window generously with the soapy water solution. This will make it easier to position the film and help it adhere evenly to the glass. The soapy water acts as a lubricant, allowing you to move the film into the perfect position without it sticking prematurely.
It’s important to ensure the entire surface is covered with the solution to prevent dry spots that could lead to air bubbles. A well-moistened window will facilitate a more professional finish, as the film can be adjusted and smoothed out without resistance.
Step 2: Apply the Film
Peel the backing from the film, exposing the adhesive side. Carefully position the film on the window, starting from the top and working your way down. The soapy water will allow you to slide the film into the correct position. Take your time to align the edges accurately to ensure a neat and tidy appearance.
If you’re working with large pieces, consider getting help to prevent the film from creasing or folding. This step requires patience and precision, as proper alignment is crucial for both the functionality and aesthetic appeal of the film. A well-placed film not only looks better but also performs better in blocking UV rays and providing insulation.
Step 3: Smooth Out Air Bubbles
Use the squeegee to smooth out any air bubbles or wrinkles, starting from the center of the film and working your way outwards to the edges. This step is crucial for ensuring a smooth, professional finish. Apply firm, even pressure to ensure that the film adheres to the glass without any trapped air pockets.
Make sure to wipe the squeegee periodically to prevent the accumulation of moisture, which can cause streaks. This process may need to be repeated several times, especially for larger panes, but the effort will result in a flawless finish that enhances both the appearance and performance of the film.
Step 4: Trim the Excess Film
Once the film is in place and free of bubbles, use a utility knife to trim the excess film along the edges of the window. Be cautious to avoid cutting into the window frame. A straight, clean edge ensures the film looks seamless and professional, blending in with the window pane.
Trimming should be done carefully and precisely. Use a steady hand and a sharp blade to avoid tearing the film. Proper trimming not only enhances the visual appeal but also prevents peeling or curling at the edges, ensuring the film remains secure over time.
Step 5: Dry and Set
Allow the film to dry and set for at least 24 hours before cleaning or touching the windows. This will ensure the adhesive bonds properly to the glass. During this time, avoid opening the windows or exposing them to direct contact, as this could disrupt the film’s settling process.
The drying period is essential for the film to achieve its full adhesive strength. Once fully set, the film will provide optimal performance, delivering the energy-saving and protective benefits you seek. Patience during this stage will pay off in the form of enhanced durability and effectiveness.
Maintenance and Care
To maximize the lifespan and effectiveness of your UV blocking window film, proper maintenance is key. Avoid using abrasive cleaners or sharp tools that could scratch the film. Instead, clean the windows with a soft cloth and a gentle cleaning solution. Regular cleaning helps maintain the clarity and appearance of the film while ensuring continued performance.
Inspect the film periodically for any signs of wear or damage, such as peeling or discoloration. Early detection and repair can prevent more extensive damage and prolong the film’s life. With the right care, your window film can continue to provide energy savings and UV protection for many years.
Choosing the Right Film for Your Needs
When selecting a UV blocking window film, consider your specific needs and preferences. Films come in various shades, colors, and levels of UV protection. Some are designed for maximum privacy, while others focus on reducing glare. Choose a film that aligns with your goals, whether it’s energy savings, privacy, or aesthetic enhancement.
Research different brands and read reviews to find a film that meets your expectations. Consider consulting with a professional to understand the different options and their specific benefits. The right choice will depend on your home’s unique requirements and your personal preferences, ensuring satisfaction and optimal results.
Professional Installation vs. DIY
While many homeowners choose to install window film themselves, hiring a professional can ensure a flawless finish. Professionals have the experience and tools necessary to achieve a seamless application, minimizing the risk of bubbles or misalignment. If you’re unsure about tackling the project on your own, consider consulting with a window film specialist.
Professional installation might come with a higher upfront cost, but it often includes a warranty and peace of mind knowing the job is done correctly. Weigh the pros and cons of DIY versus professional installation based on your skill level, budget, and the complexity of your project. Either way, installing UV blocking window film is a worthwhile investment in your home’s comfort and efficiency.
Conclusion
UV blocking window film is a cost-effective and practical solution for enhancing the energy efficiency and aesthetic appeal of your home. By following these smart installation strategies, you can enjoy the benefits of reduced energy costs, increased privacy, and protection from harmful UV rays. Whether you’re a DIY enthusiast or prefer professional installation, UV blocking window film is a valuable addition to any home improvement project.
By understanding the process and knowing what to expect, you can make informed decisions that align with your goals and preferences, ultimately transforming your living space into a more comfortable and efficient environment. As more homeowners seek sustainable solutions, UV blocking window film stands out as an effective way to enhance comfort, protect your interiors, and contribute to environmental conservation.
Leave a Reply